WooCommerce checkout features – which are mostly related to the payment settings – play a vital role in running an online store, and it is often thanks to them that a customer decides to make a purchase. Therefore, if you provide your customers with convenient payment methods, they are more likely to buy from you. WooCommerce allows you to define these features at the initial stages of setting up your store itself.
Initiating the checkout process
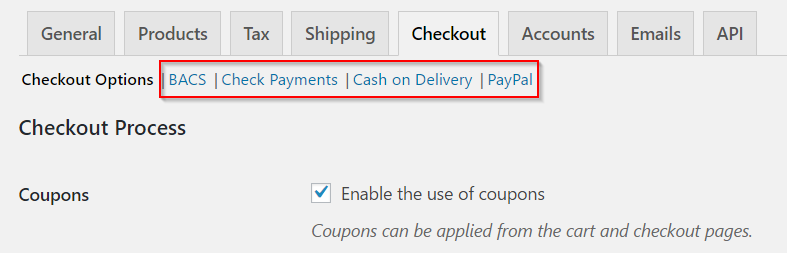
Go to WooCommerce → Settings → Checkout.

The Checkout subsection has a general Checkout Options and different payment gateway options.
Let’s go deeper and understand how to configure each.
The first part is Checkout Process where you can set-up the application of coupons and customer checkout.
Coupons to enable sales
Discount coupons are a great marketing strategy to enhance the popularity and customer engagement of your store. WooCommerce allows store owners to create coupons on the website.
In Checkout Process, you can enable or disable the use of Coupons by simply ticking or unticking the checkbox.
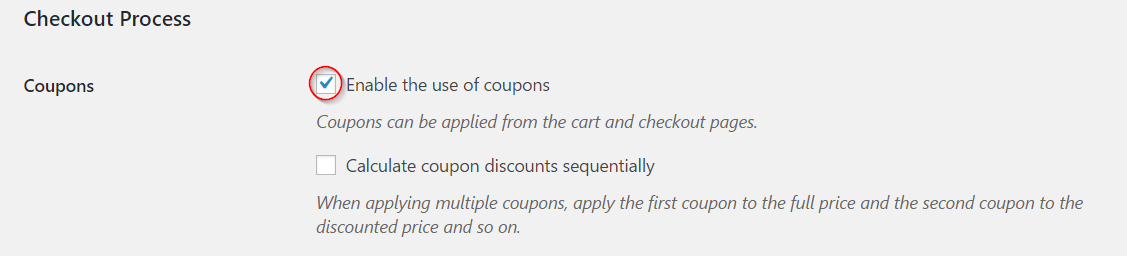
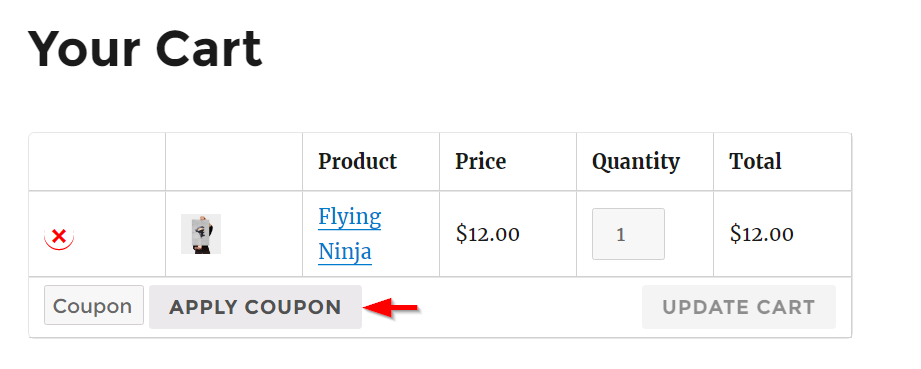
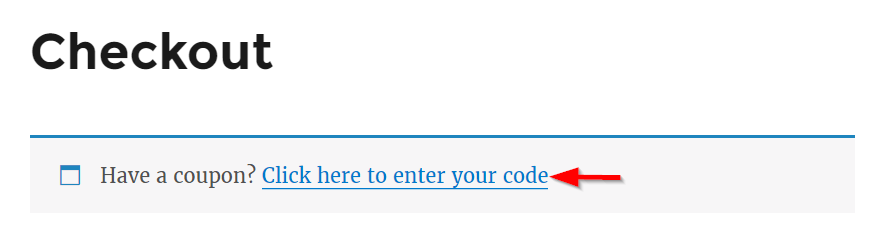
In the frontend of your store, this will prompt the customer to apply Coupons on the cart and checkout pages.
You can tell WooCommerce to calculate the coupon discounts sequentially, in a scenario where more than one coupons are applied for a single purchase.
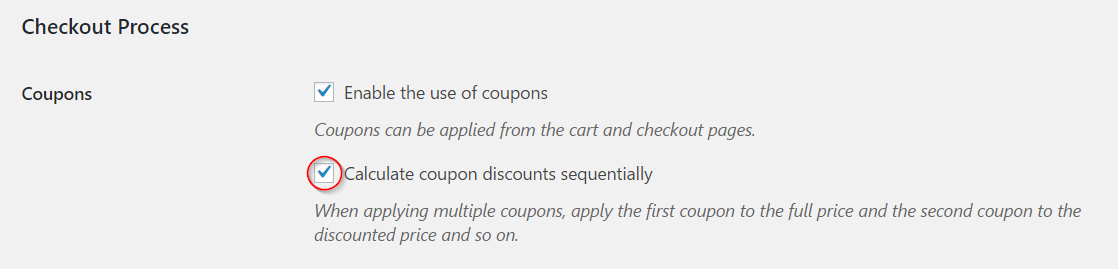
When this checkbox is ticked, the first coupon will be applied to the full price of the product and the subsequent coupons will be applied to the discounted price.
When this is not enabled, it will club and apply all the coupons together on the full price of the product.
Enabling and disabling this option is based on your business strategy as there is a considerable financial implication as well.
Fine tuning the checkout process
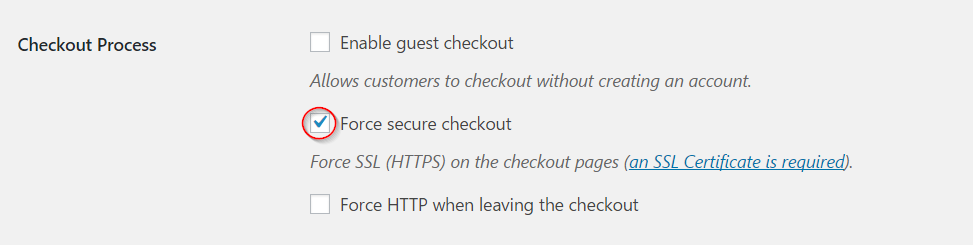
The first option is a checkbox to enable guest checkout. Ticking this one means your customers can check out from your store without creating an account on the store.

If left unchecked, it will prompt the customer to create an account during checkout (the detailed process of setting up the Accounts option will be discussed later).
The second checkbox is Force secure checkout.
This is related to the security features of your website. You need an SSL certificate (a communication security protocol) on the checkout page if you tick this checkbox.
WooCommerce recommends store owners to use this option as it will ensure the security of customers’ personal information.
When you check the Force secure checkout option, another checkbox ‘Force HTTP when leaving the checkout’ is displayed. Checking this makes sure that all pages other than checkout will load over HTTP.
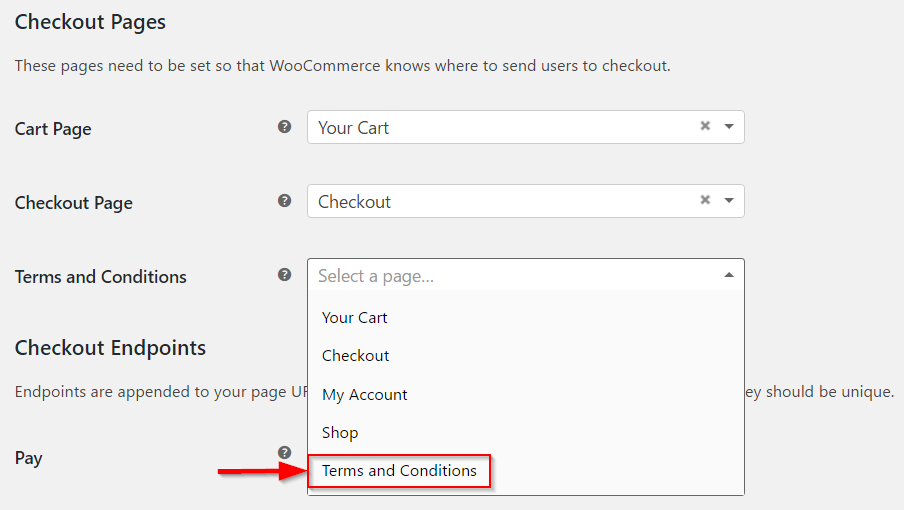
Assigning checkout pages
This section has three options with drop-down menus for each.
- Cart Page
- Checkout Page
- Terms and Conditions
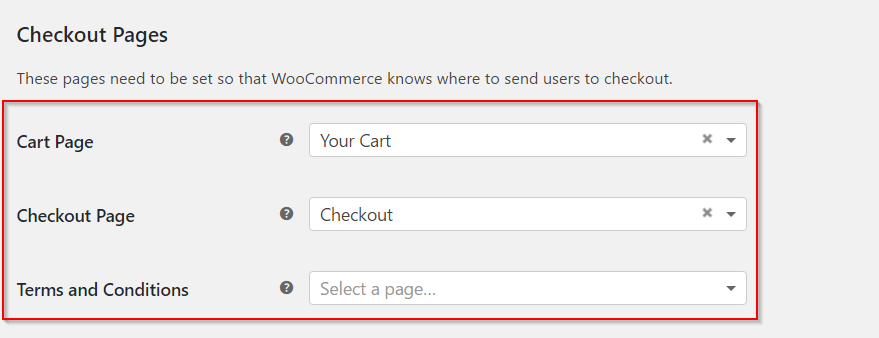
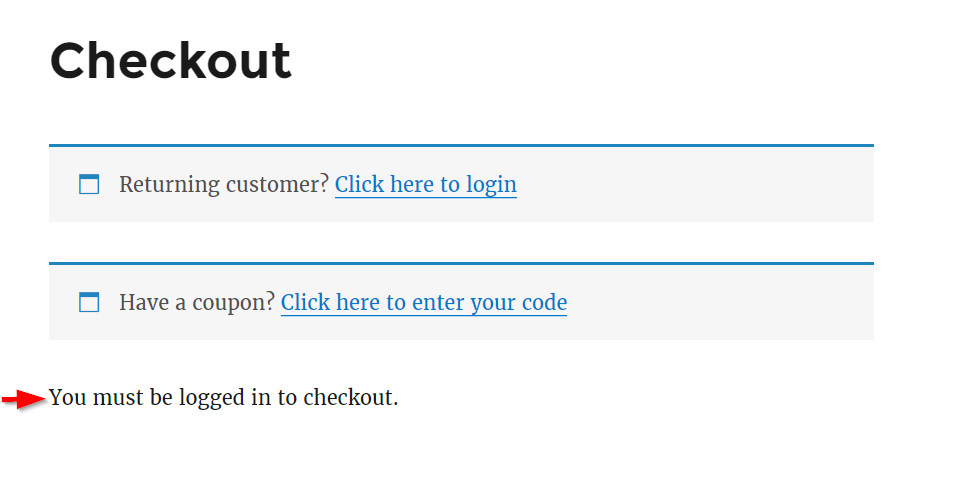
The Cart Page and Checkout Page are mandatory fields. Without setting up these two pages your customers will not be able to checkout. If you have used the Setup Wizard at the start, these pages are already created and assigned.
Do I need a Terms & Conditions page?
Terms and Conditions page is an optional choice. You can create a new page manually and type your terms and conditions in the contents section. Once the page is created you can come back to this section and select the page from the drop-down.
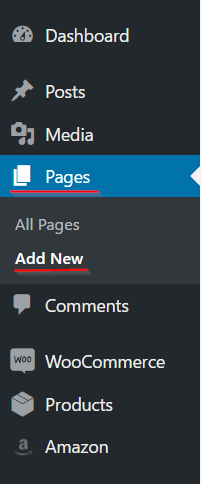
To create a new page, go to Pages → Add New on the admin panel
Edit the page with a title and your Terms and Conditions text.

Now you can go back to Checkout Pages on Settings and set the newly-created page as Terms and Conditions.
Once the Terms and Conditions page is created and set up, you can see a checkbox with terms and conditions link in the checkout page that the customer can read and tick.

Checkout Endpoints
This section has unique endpoints or additions that can be appended to your checkout URL. This will enable specific actions during the checkout process. WooCommerce has a set of default endpoints available.
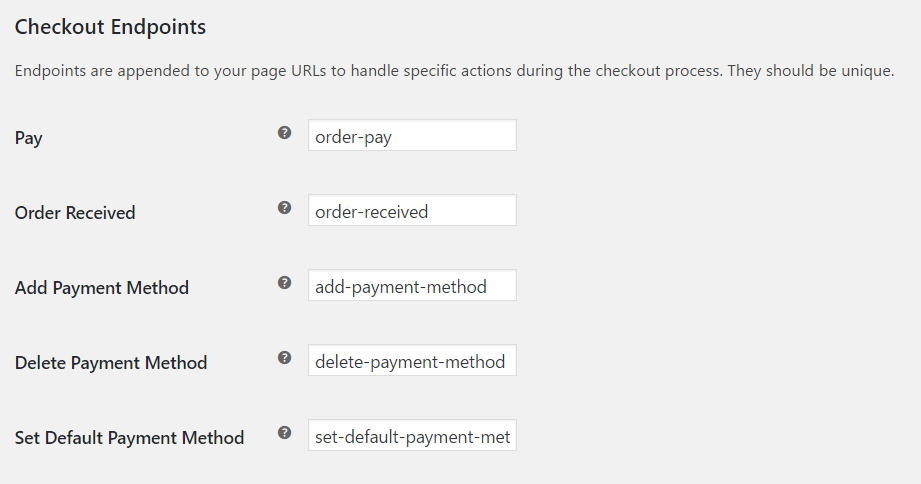
You can also add custom endpoints, but care should be taken to make sure they are unique and is not placed anywhere else on the site.
Payment Gateways
This sub-section displays all your installed payment gateways. You can sort the order of display by dragging and dropping according to your preference. (Installing payment gateways is described in detail below).
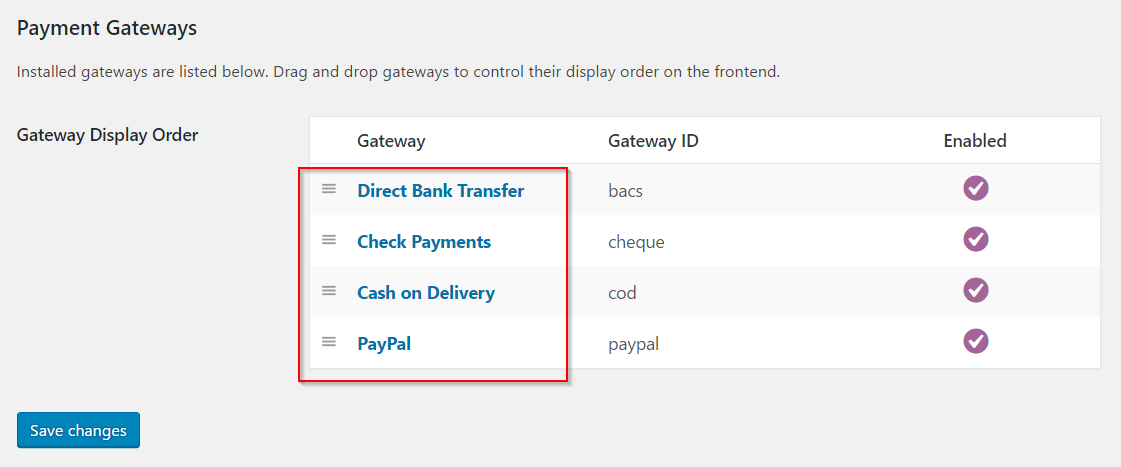
Do not forget to click Save changes button every time you update the settings.
Configuring Payment Gateways
You will find four default options to install payment gateways in the Checkout section. These are:
- BACS
- Check Payments
- Cash on Delivery
- PayPal
We can go further into each section in detail and see the possibilities.
BACS
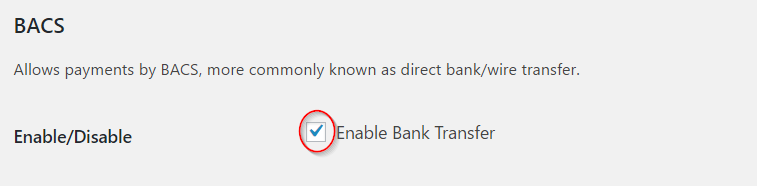
This section allows you to set up Direct Bank Transfer facility in your store.
At the top, there is a checkbox to enable Direct Bank Transfer. You can enable/disable this option by ticking the checkbox.
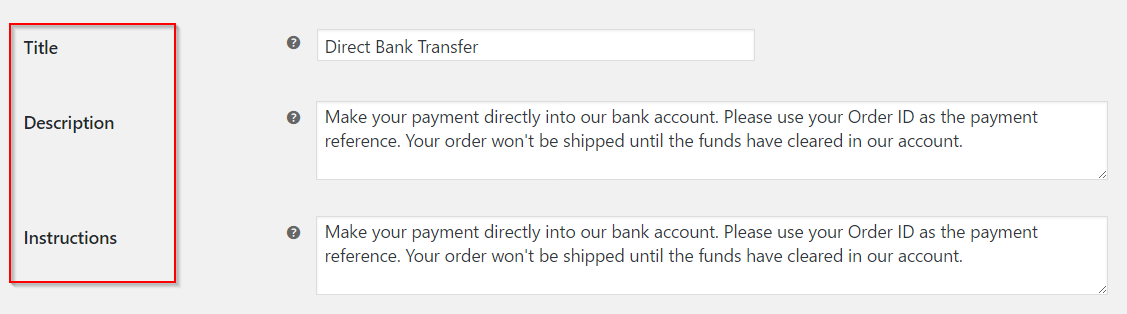
Once you have decided to enable Bank Transfer, you need to fill in a few details on this page for the customer.
You can see three fields right below the enable checkbox. These are:
- Title – displayed on the checkout page as a payment gateway option.
- Description – when your customer selects this payment option on the checkout page, the description is displayed.
- Instructions – displayed on the order receipt and will be sent to the customer via email.
WooCommerce has already put in default content in these fields. But you can phrase it according to your liking to give a unique and personalized touch to your store.
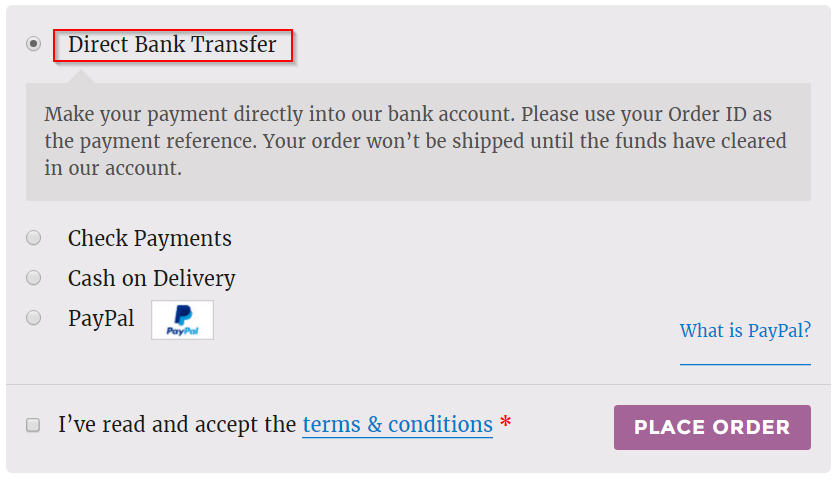
This will look like this on the front-end of the site as below
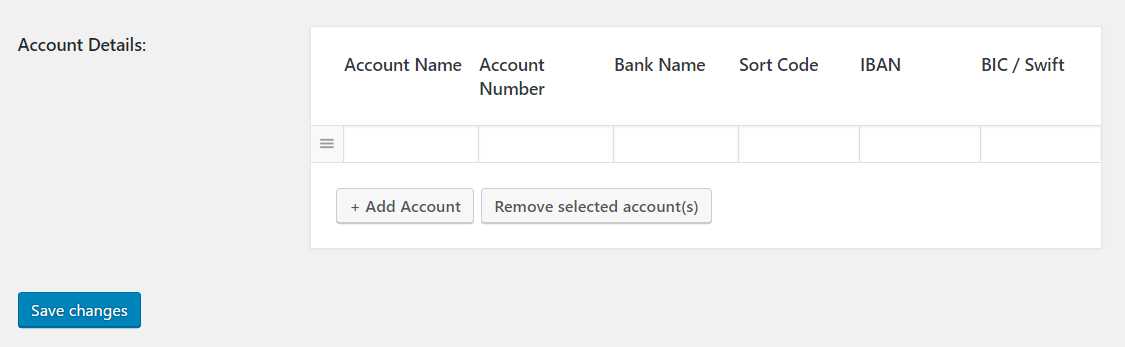
The most important section here is Account Details.
You have to enter the details of the account you wish to display on the storefront. The options are:
- Account Name
- Account Number
- Bank Name
- Sort Code
- IBAN
- BIC/Swift
Please remember: WooCommerce will not automatically process transactions under this payment gateway. You have to manually check if the transaction is complete and then update the order details to initiate the shipping process.
Once you complete updating all the settings, click Save changes button.
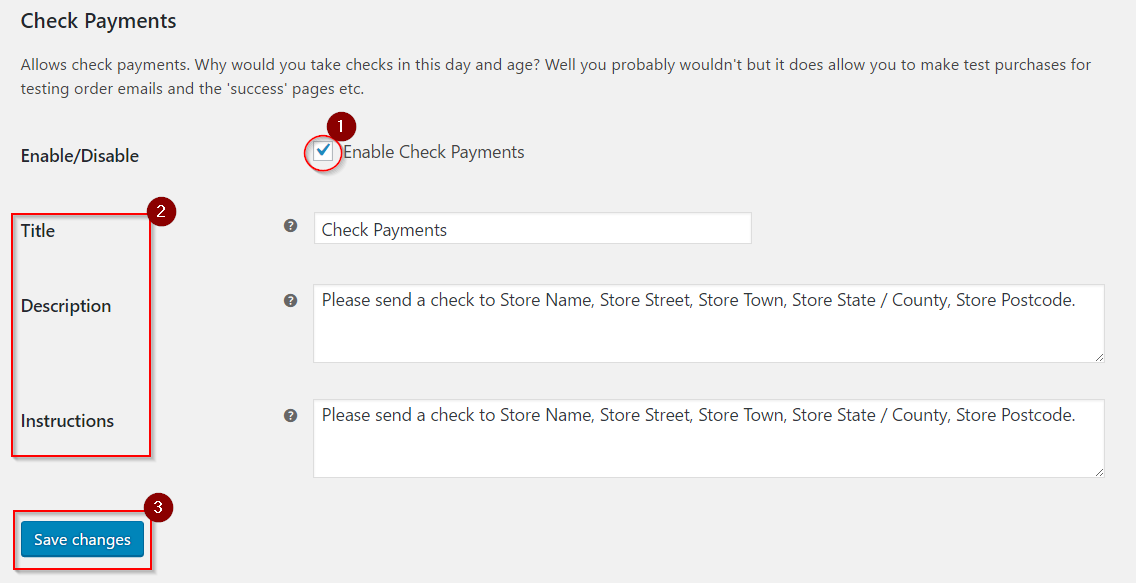
Check Payments
Another payment gateway that you can set up in the early days of building your store is Check Payments.
- You can Enable/Disable Check Payments by ticking the checkbox
- Then edit the Title, Description and Instructions field (similar to what you’ve done in BACS setup).
- Finally, click Save changes button.
The front-end of your store will look as displayed below
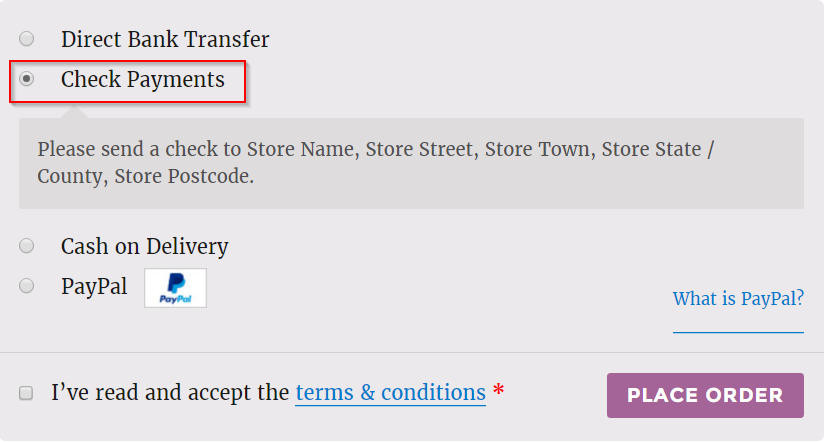
As in the case of Bank Transfer, WooCommerce won’t automatically process Check Payments as well. You have to wait till the check is cleared and then manually process the order to initiate shipping.
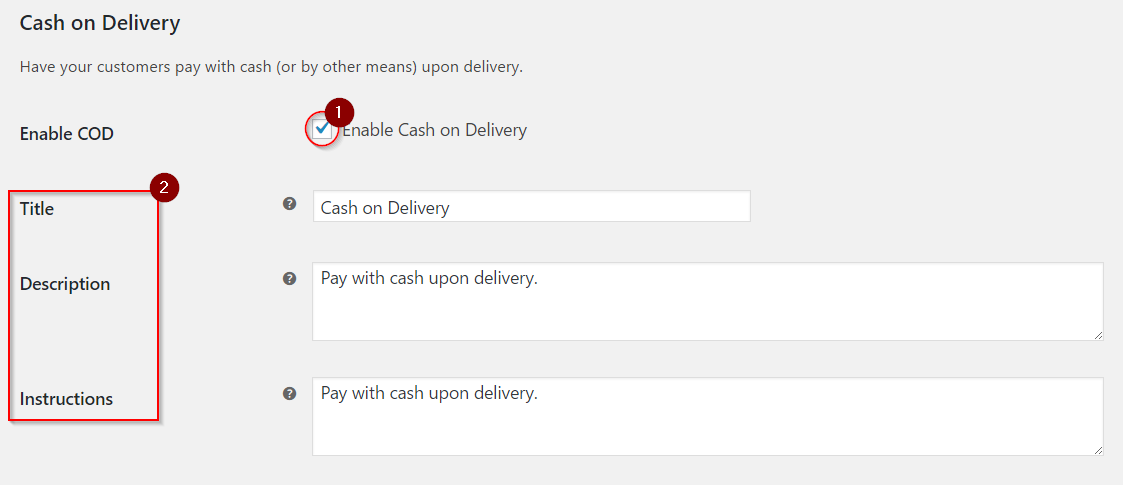
Cash on Delivery
The setup for Cash on Delivery is rather similar to BACS and Check Payment except for two additional fields.
- Enable/Disable checkbox will decide whether you are activating this payment gateway for your customers.
- Title, Description, and Instructions can be edited in the respective fields.
Additional options
You can see two additional options in Cash on Delivery that you have not seen in BACS and Check Payment.
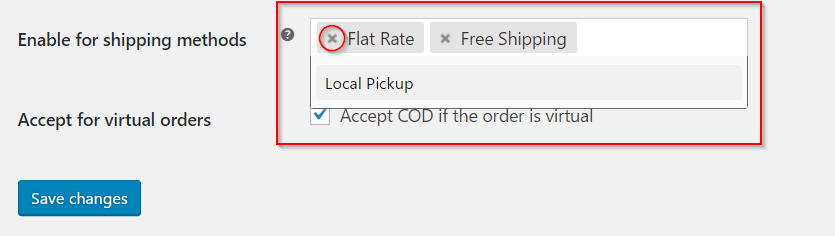
One is ‘Enable for shipping methods’. Using this option you can set Cash on Delivery only on certain specific shipping methods.
When you click on the text box, you can see three options in a drop-down by default. They are:
- Flat Rate
- Local Pickup
- Free Shipping
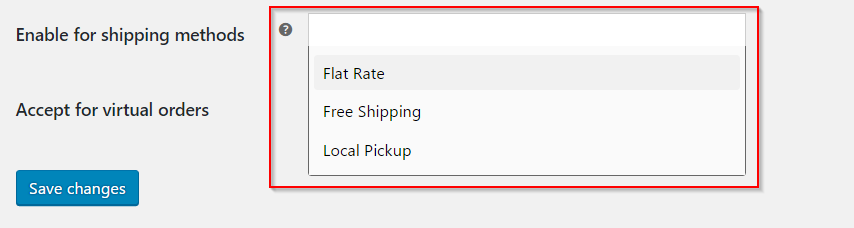
Add one by one from the drop-down. You can remove options by clicking the ‘x’ sign next to each option.
If you have installed other shipping options via plugins, they will also be visible in this drop-down and you can choose accordingly.
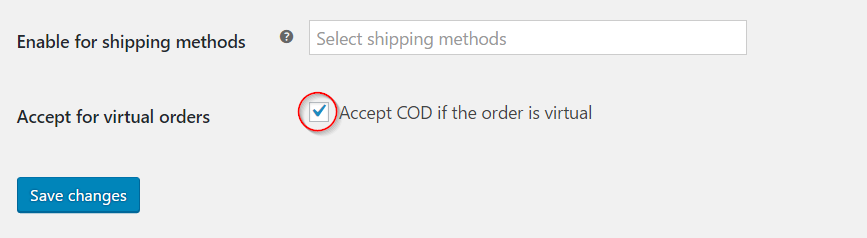
Also, remember if you leave this field blank, Cash on Delivery will be applied to all shipping methods.
You can also enable Cash on Delivery for virtual orders, where a service is rendered in person.
Like BACS and Check Payments, you need to manually process the order details for Cash on Delivery as well.
Do not forget to click Save changes button after updating the settings.
PayPal
PayPal Standard is a preferred payment gateway in WooCommerce, and it is accepted globally.
The set-up for PayPal includes a few simple, straightforward settings along with a set of tricky, advanced settings.
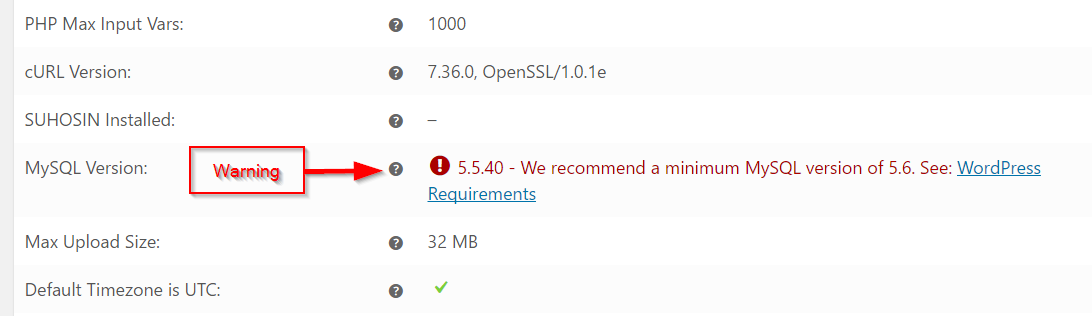
Before updating the settings, you can take a look at the long message on the top of the page with a link. This is nothing but a reminder to make sure that your hosting system meets all the requirements.

You can click the link to go to the System Status page and update the system settings if there are any warnings.
As seen in other cases,
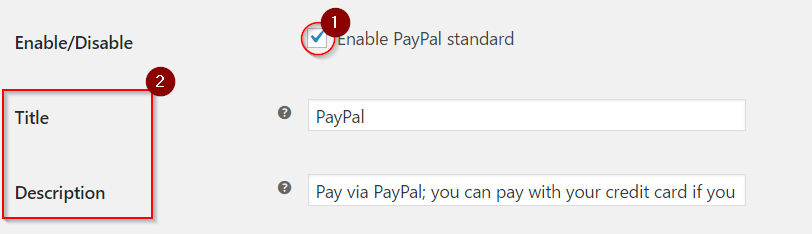
- You can activate PayPal as a payment gateway using the Enable/Disable option.
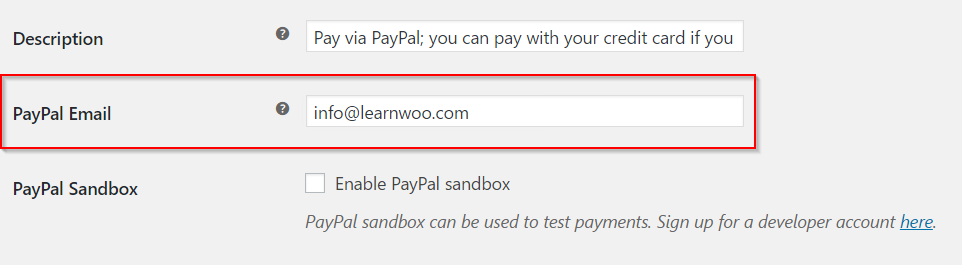
- Title and Description (content that will be visible in the front-end of your store) can be edited using their respective fields.
PayPal Email field is an important field, where you enter the email account that you have set up to receive payments through PayPal.
If this email id is not correct, you may not be able to receive payments.
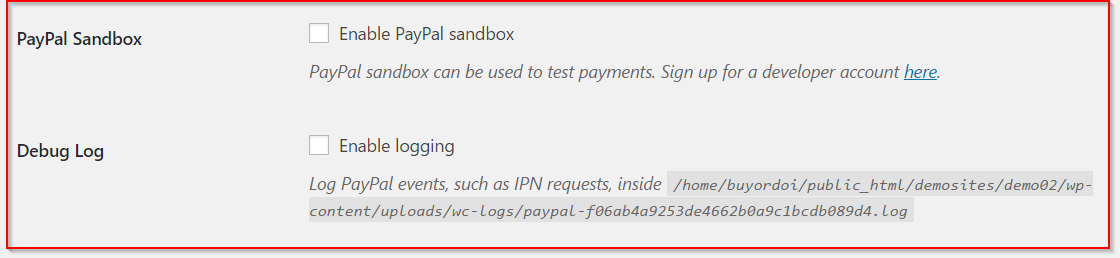
PayPal Sandbox
WooCommerce provides options for testing and debugging while setting up PayPal.
PayPal Sandbox will help you ensure your payment gateway is functioning properly before you start actively selling through your store.
You need to sign up using a developer account to use this feature of WooCommerce.
Remember to disable PayPal Sandbox once you start selling products through your WooCommerce store. Otherwise, your payment will not get credited properly.
Debug log aids in debugging by making sure that all events are logged into a specific file on a server. This is vital to debug any problems with your store setup.
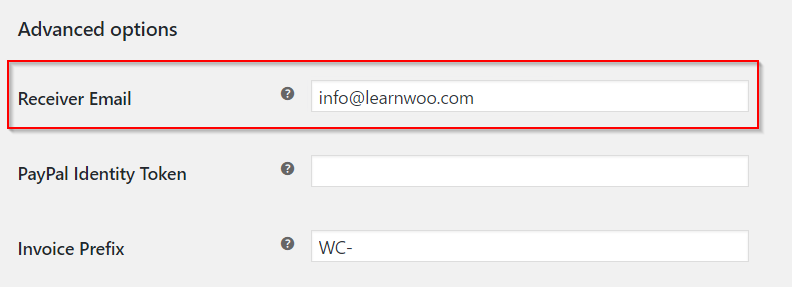
Advanced Options
While setting up your store, some of the features in the Advanced Options of PayPal setup can prove to be quite handy.
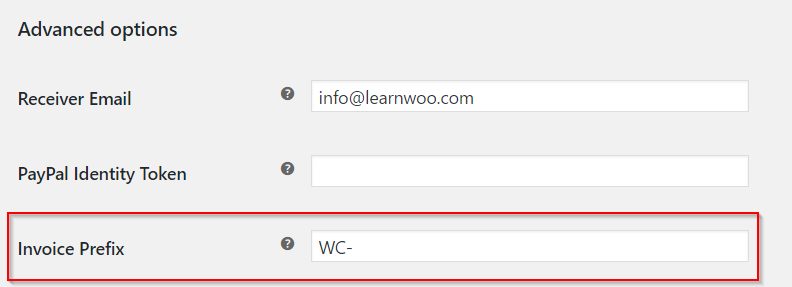
You can enter the Email ID that is assigned to receive payments in the Receiver Email field.
It can be either your primary PayPal Email or an alternate one.
One important aspect here is that the email you enter in the Receiver email field is used to validate IPN requests.
IPN or Instant Payment Notification is a messaging service of PayPal that communicates to your store whether the payment has been successful or not.
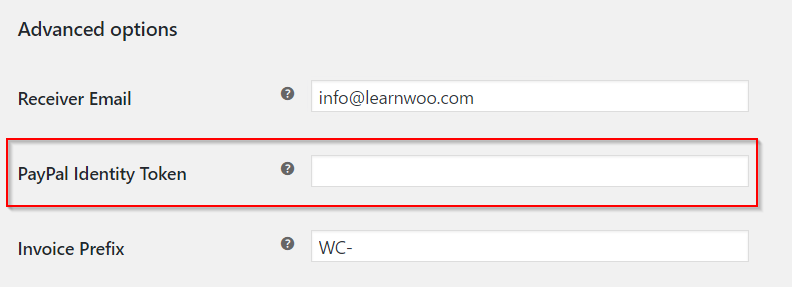
If you are facing issues with IPN, you can enter the PayPal Identity Token in the next field.
You can get the identity token by enabling “Payment Data Transfer” in PayPal (Profile → Profile and Settings → My Selling tools → Website Preferences)
In case you are receiving payments from multiple sources (websites or stores), it is advisable to add a unique prefix in the Invoice Prefix field. This will appear in front of your invoice number and helps PayPal to identify your different websites.
Shipping Details section enables WooCommerce to send your customer’s shipping address details to PayPal. This is important if you are using PayPal to print shipping labels. PayPal allows WooCommerce to send only one address and sending billing address in this scenario won’t make much sense.
Enable/Disable this option by ticking the checkbox if you are using PayPal to print shipping labels.

Address verification of PayPal
Next is Address Override, which WooCommerce recommends to not enable.
This feature deals with PayPal’s address verification. It is best to keep it unticked if you are just beginning to set up your store with WooCommerce.

Payment Action allows you to choose whether you want to capture payments immediately or authorize.
There is a drop-down from which you can choose ‘Capture’ or ‘Authorize’ according to your preference.

Using Page Style, you can set a preferred page style that is already created in PayPal. This will help you with branding aspects of your site.
Remember, it’s an optional field.

If you wish to process refunds through PayPal, you need to enter your PayPal API Credentials.
API Credentials include three fields:
- Username
- Password
- Signature
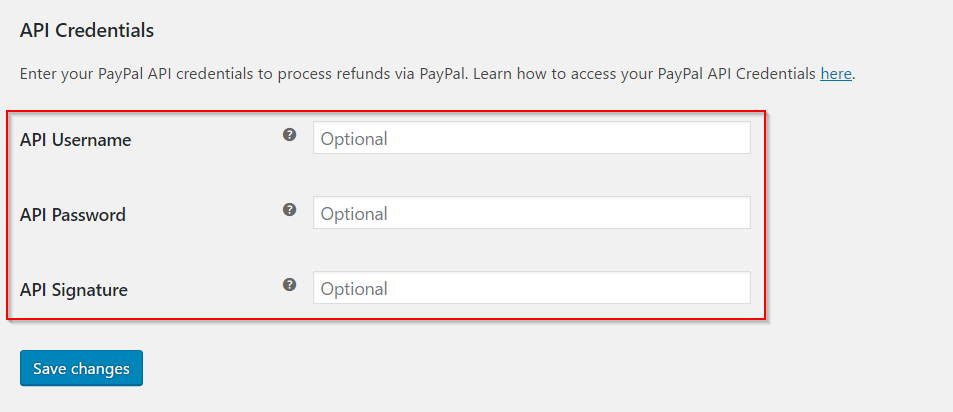
Once you are done updating the settings, do not forget to click Save changes button.
(Sujith Reghu - https://learnwoo.com)