Using oversized images can negatively affect your website’s speed and performance. Fortunately, it’s possible to change them by serving scaled images. Keep on scrolling to find out how!
What is a Scaled Image?
A scaled image is an image whose size matches exactly with the size defined in CSS or HTML. Unfortunately, many webmasters do not really pay attention to it.
Let’s say a user decides to use a 500 x 500 pixels image for a 50 x 50 thumbnail. As a result, the browser has to download and scale the picture down before displaying it to the visitors. This process is inefficient and can slow down your website loading time.
However, this issue won’t happen if you serve scaled images. Smaller images use less space and speed up your site, which in return will improve your site’s SEO and ranking.
How to Serve Scaled Images the Right Way?
Now it’s time to learn how to serve scaled images on your website.
Step 1: Analyzing Your Website
First thing first, we need to find images from your site that need to be rescaled along with their proper dimensions. To do so, we will use GTMetrix.
-
Access GTMetrix, enter your site’s URL and click Test Your Site.
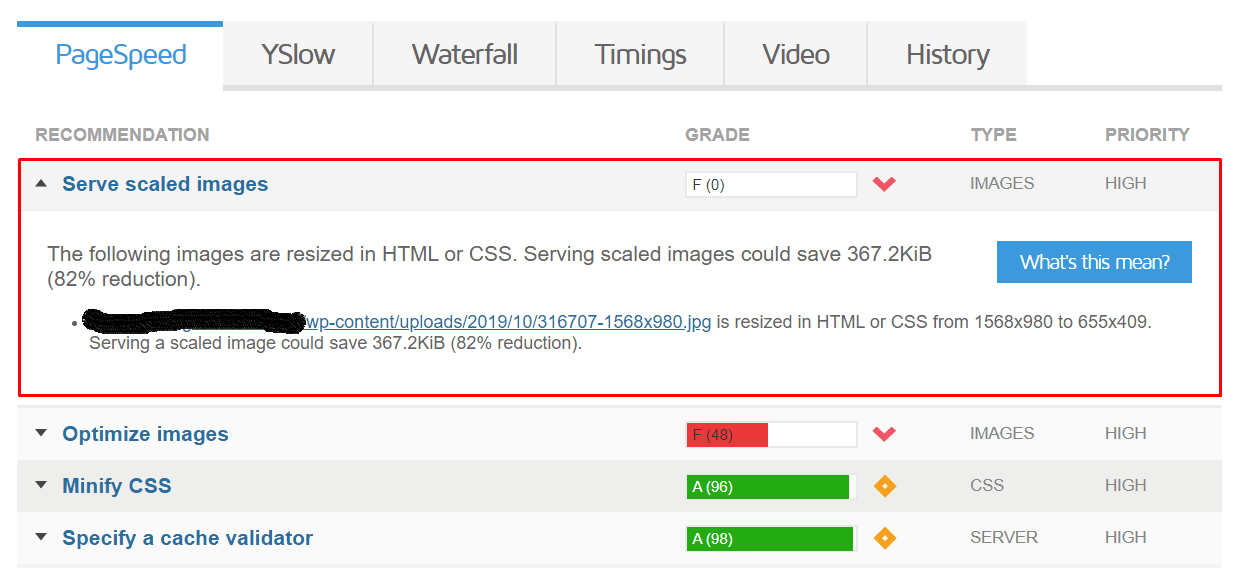
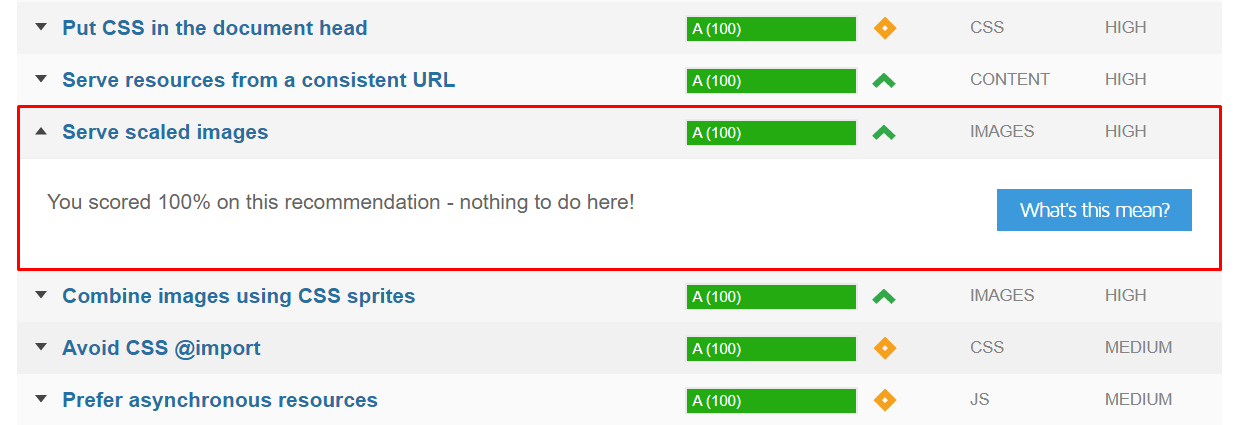
- Once it is finished, navigate to the Page Speed tab and click the Serve scaled images section.
-
Copy the images’ URLs and note down the recommended sizes.
Step 2: Rescaling the Images
The next move to serve scaled images is by rescaling the oversized pictures. There are tons of image editing tools available, however, in this tutorial, we’re going to use PicResize.
-
Open PicResize and click the From URL button.
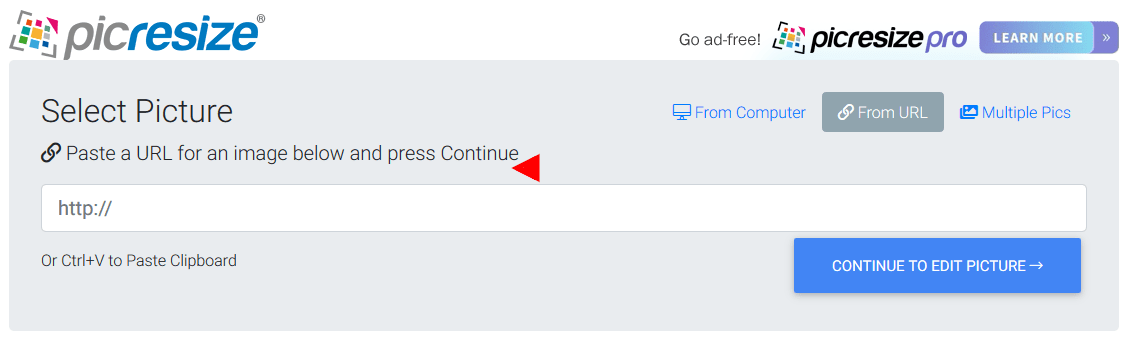
- Paste the URL of the image you want to edit, and select Continue to Edit Picture.
-
Choose the Custom Size option from the drop-down menu and enter the recommended size.
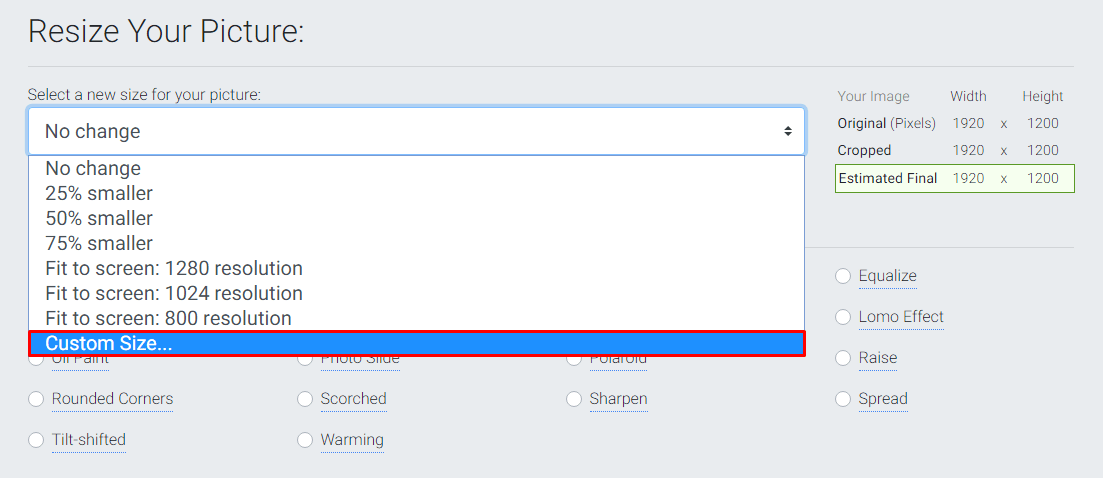
- Hit I’m Done, Resize My Picture! and save your image by clicking the Save to Disk button.
- Rename the images back to their original names by removing rsz_ from the file name.
Step 3: Replacing the Images
As you expected, the last thing we need to do when serving scaled images is to replace those old media uploads. To do so, we’ll utilize Enable Media Replace.
- Install and activate Enable Media Replace from the Plugins menu.
- Navigate to Media -> Library and change the layout from Grid to List.
- Click the Replace Media option, next to the oversized images.
- Press the Choose File button and select the scaled image you’ve saved.
- Set up the Replacement and Date options to your liking, then click Update.
That’s it! After serving scaled images, your site’s results will look like this:
Conclusion
In this short guide, you’ve learned how to serve scaled images. You only need to scan your website using GTMetrix, and then rescale and upload the oversized images.
We hope this article was helpful. If you have any questions, share your thoughts in the comment section below!