I’ve added comments to the code to help guide what changes what but you might find it a bit difficult to tweak if you’re new to CSS and if you’re trying to do more than just change colors. Plus we’re dealing with tables and they can be a pain in the butt. Post questions in the comments and I’ll be happy to help as best I can.
Update: I’ve added button code in case you want your Woo buttons to be different than your button customizer settings.
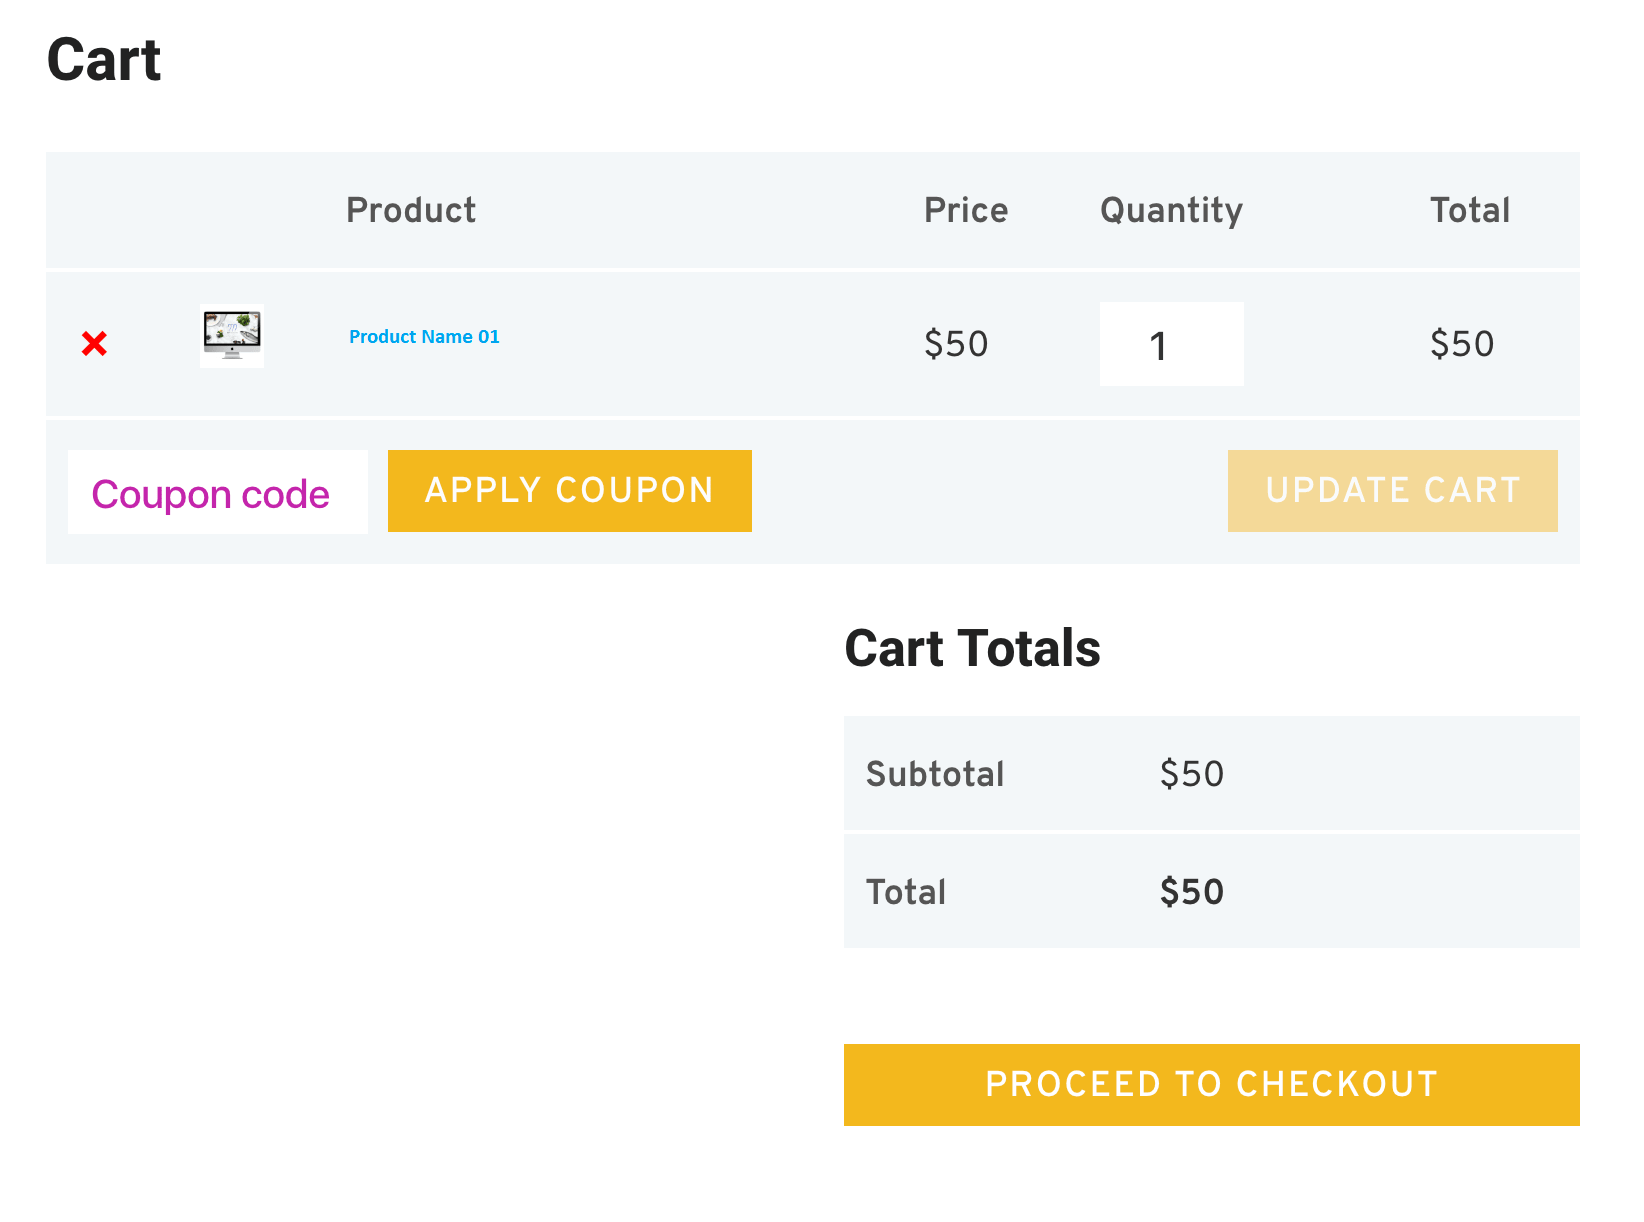
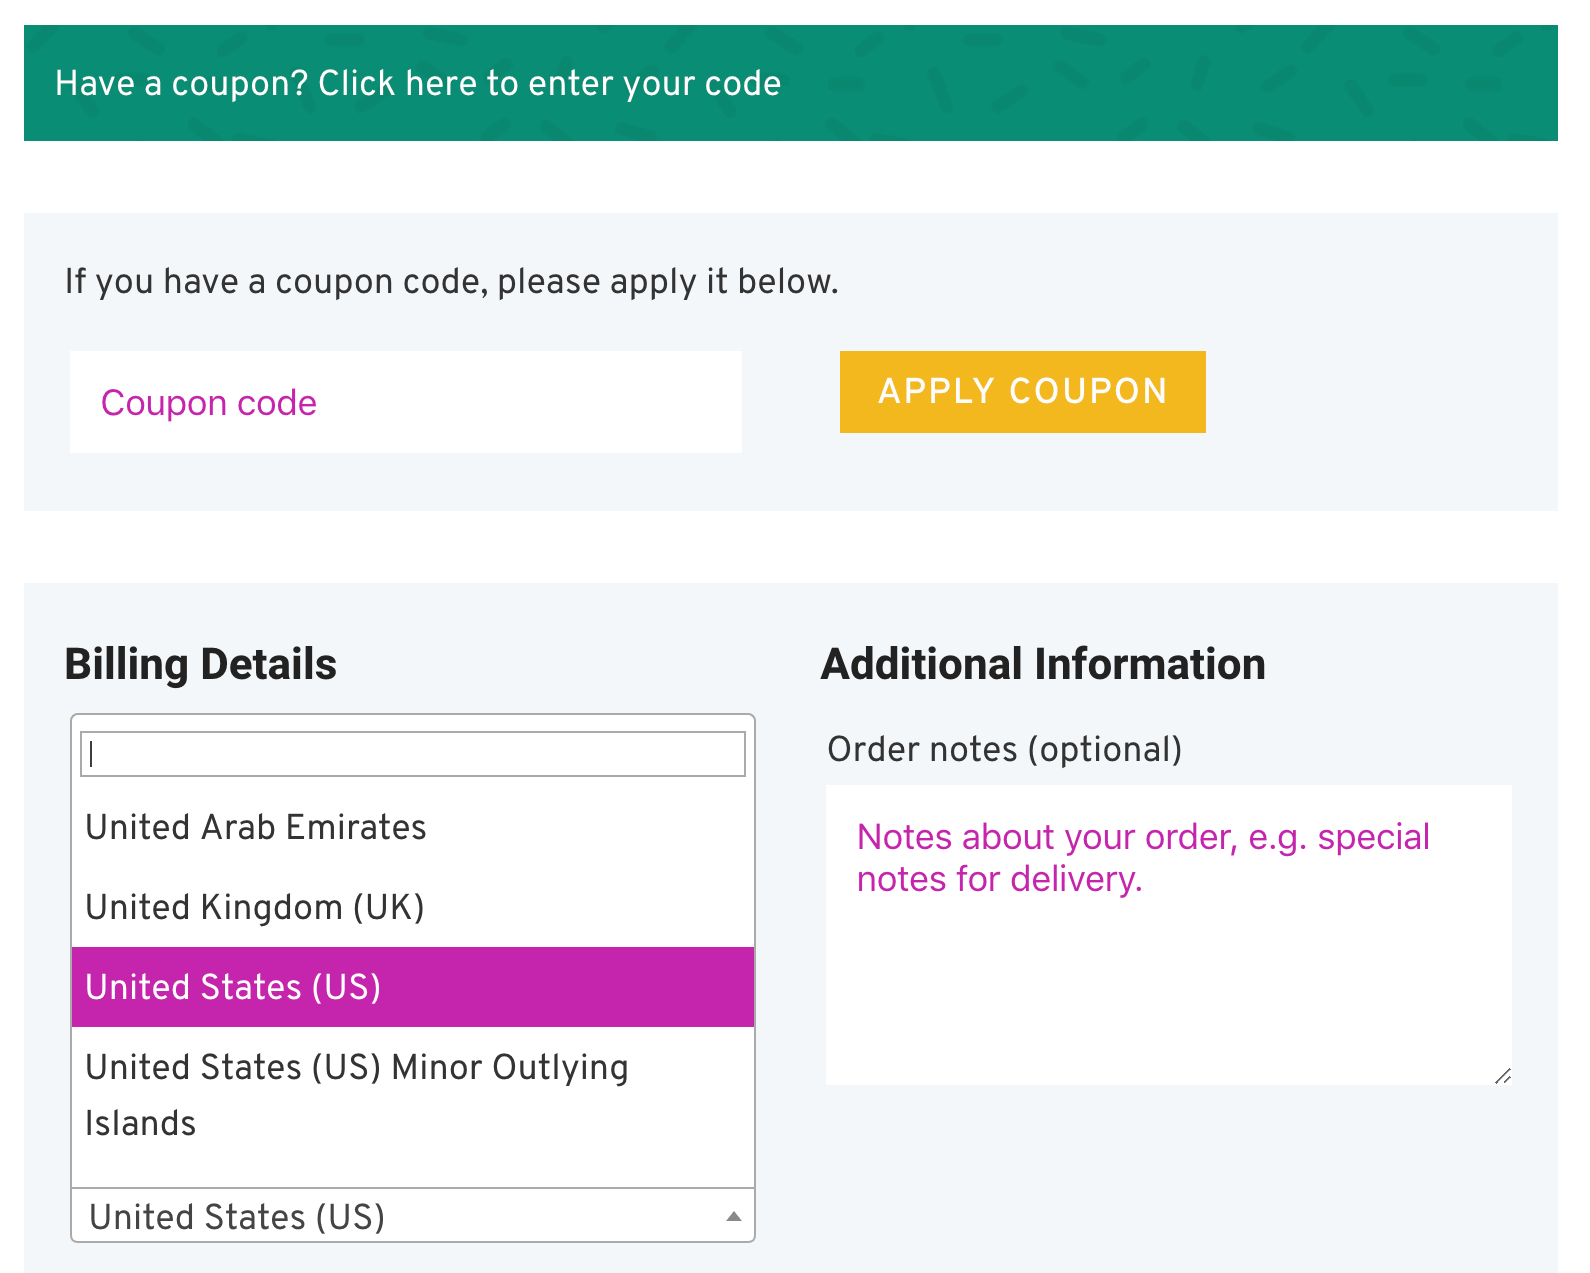
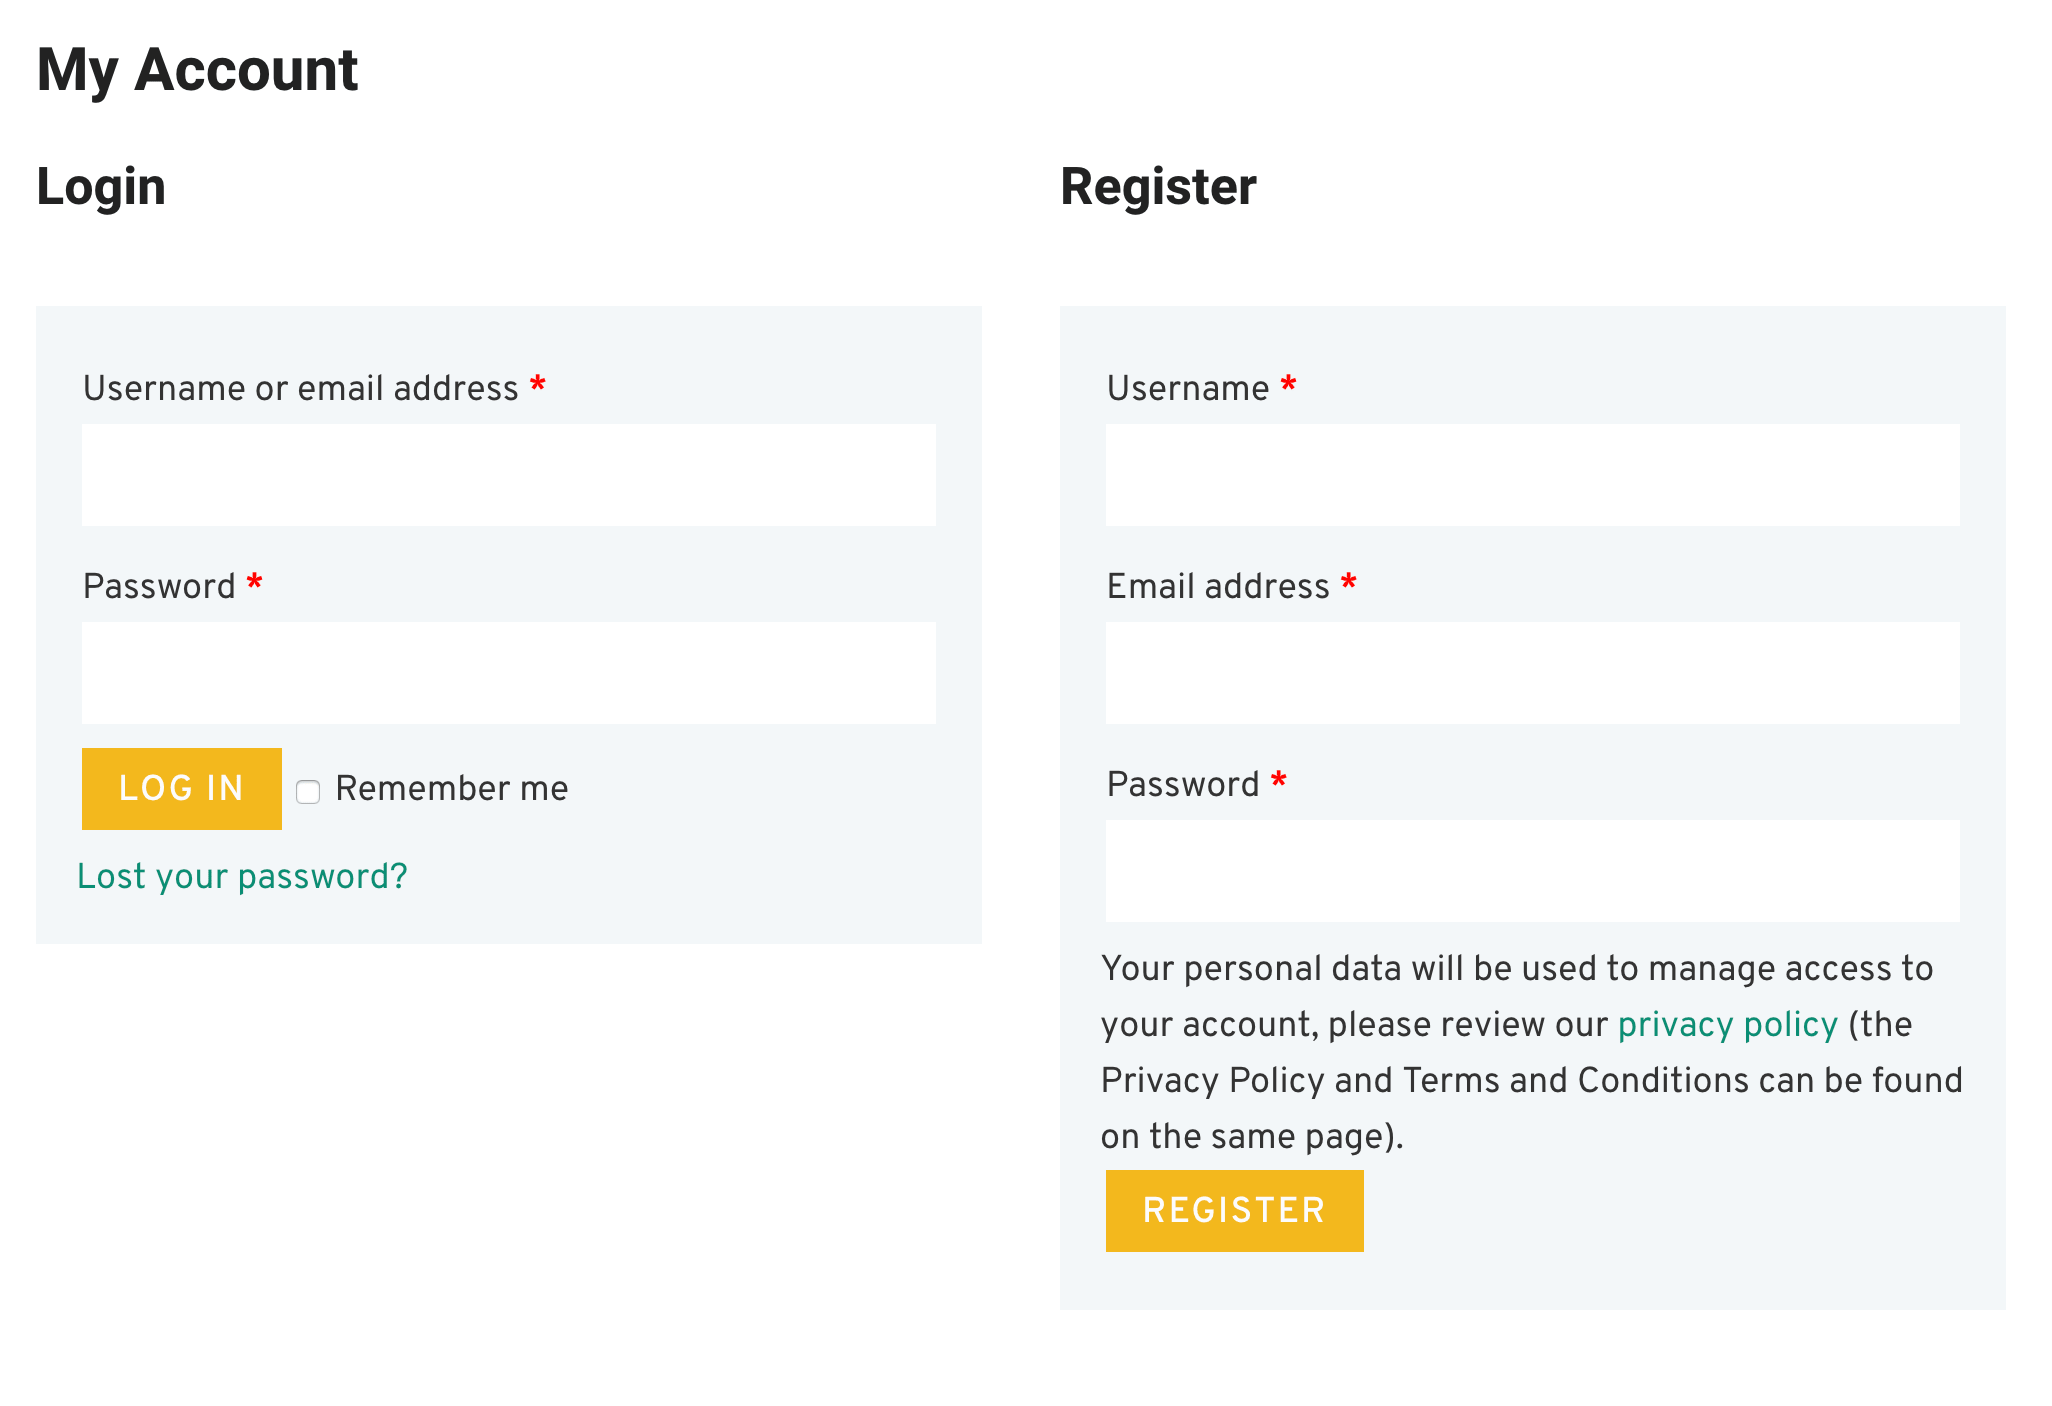
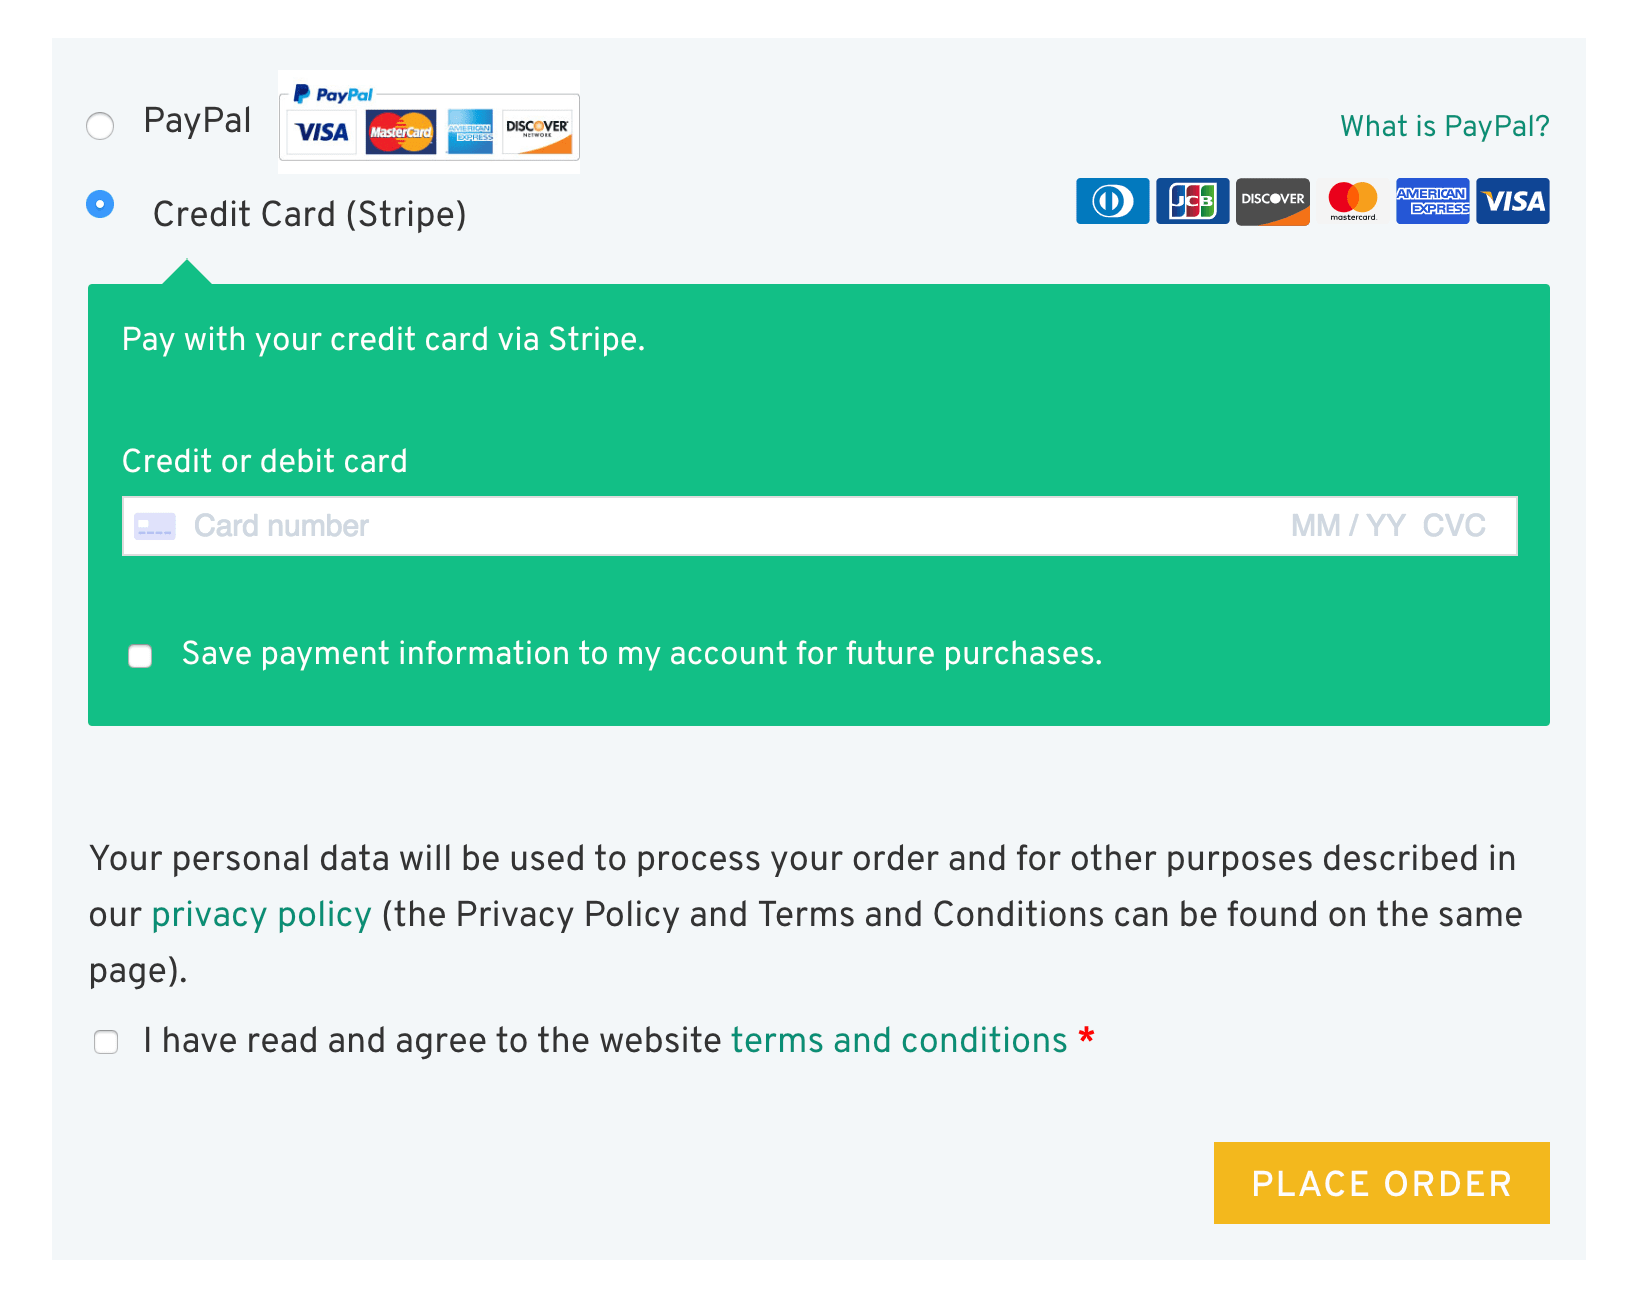
Here are a few screenshots of what can be changed, these are from my own site...


Elements that are changed:
- Background color of forms
- Tables in forms
- Quantity boxes
- Payment box on checkout (e.g. PayPal and Stripe box backgrounds)
- Buttons – the code here changes ALL woo buttons (in case you don’t want them to use your customizer button settings)
- Coupon field
- Login fields
- Order notes
- Dropdowns on checkout (e.g. state)
- “My account” pages included
The CSS can go in your Child Stylesheet OR Appearance > Customize > Custom CSS/JS > CSS code
/*****************************************************/
/******** WOO CART / CHECKOUT / ACCOUNT PAGES ********/
/*****************************************************/

/*** MAIN FORMS BACKGROUND COLOR ***/
.woocommerce table.shop_table,
.woocommerce form.checkout_coupon,
.woocommerce form.login,
.woocommerce form.register,
#add_payment_method #payment,
.woocommerce-cart #payment,
.woocommerce-checkout #payment,
#customer_details,
h3#order_review_heading,
form.woocommerce-EditAccountForm.edit-account {
	border: 0 !important; /* you can add a border if you prefer */
	background: #f5f5f5; /* this is the main background color for all forms */
}
/*** FORM AND OTHER PADDING ***/
#customer_details,
form.woocommerce-EditAccountForm.edit-account,
h3#order_review_heading {
	padding: 30px 20px;
}
/*** ADJUST FORM ROUNDED EDGES ***/
#customer_details {
	border-top-left-radius: 5px;
	border-top-right-radius: 5px;
}
.woocommerce-checkout-review-order table.shop_table {
	border-top-left-radius: 0;
	border-top-right-radius: 0;
}
/*** THIS COMPENSATES FOR FIELDS NOT ALIGNING ***/
h3#ship-to-different-address {
	margin-top: -3px;
}
/*** ALL WOO BUTTONS ***/
.woocommerce button.button.alt,
.woocommerce-page button.button.alt,
.woocommerce a.button,
.woocommerce-page a.button,
.woocommerce button.button,
.woocommerce-page button.button {
	text-transform: capitalize !important;
	background: #ffa500 !important;
	color: #222 !important;
}
.woocommerce button.button.alt:hover,
.woocommerce-page button.button.alt:hover,
.woocommerce a.button.alt:hover,
.woocommerce-page a.button.alt:hover,
.woocommerce a.button:hover,
.woocommerce-page a.button:hover,
.woocommerce button.button:hover,
.woocommerce-page button.button:hover {
	background: #00adad !important;
	color: #fff !important;
}
/*** PAYMENT BOX ON CHECKOUT ***/
#add_payment_method #payment div.payment_box,
.woocommerce-cart #payment div.payment_box,
.woocommerce-checkout #payment div.payment_box {
	background-color: #15bf86;
	color: #fff;
}
#add_payment_method #payment div.payment_box::before,
.woocommerce-cart #payment div.payment_box::before,
.woocommerce-checkout #payment div.payment_box::before {
	border-bottom-color: #15bf86;
}
#add_payment_method #payment ul.payment_methods,
.woocommerce-cart #payment ul.payment_methods,
.woocommerce-checkout #payment ul.payment_methods {
	border-bottom: 0;
}
/*** BORDERS AND TABLES ***/
.woocommerce form .form-row input.input-text,
.woocommerce form .form-row textarea {
	border: 0;
}
.woocommerce table.shop_table td,
#add_payment_method .cart-collaterals .cart_totals tr td,
#add_payment_method .cart-collaterals .cart_totals tr th,
.woocommerce-cart .cart-collaterals .cart_totals tr td,
.woocommerce-cart .cart-collaterals .cart_totals tr th,
.woocommerce-checkout .cart-collaterals .cart_totals tr td,
.woocommerce-checkout .cart-collaterals .cart_totals tr th,
.woocommerce table.shop_table tbody th,
.woocommerce table.shop_table tfoot td,
.woocommerce table.shop_table tfoot th,
.woocommerce-checkout #main-content .cart-subtotal td {
	border-top: 2px solid #fff;
}
.woocommerce table.shop_table_responsive tr:nth-child(2n) td,
.woocommerce-page table.shop_table_responsive tr:nth-child(2n) td {
	background: transparent;
}
.woocommerce-checkout #content-area table th,
.woocommerce-checkout #content-area table td {
	padding-left: 20px;
}
.woocommerce form .form-row input.input-text,
.woocommerce form .form-row textarea {
	font-size: 18px;
}
/*** COUPON / EXISTING ACCOUNT / ERROR BOXES BACKGROUND COLOR ***/
.woocommerce-message,
.woocommerce-error,
.woocommerce-info {
	background: #b33f62 !important;
}
/*** ORDER NOTES ON CHECKOUT ***/
.woocommerce-checkout .woocommerce form .form-row textarea {
	height: 150px; /* height of optional notes box */
}
/*** STATE DROPDOWN SELECT COLOR ***/
.select2-container--default .select2-results__option--highlighted[aria-selected],
.select2-container--default .select2-results__option--highlighted[data-selected] {
	background: #ffa500;
}
/*** QUANTITY BOX ***/
.woocommerce #content .quantity input.qty,
.woocommerce .quantity input.qty,
.woocommerce-cart table.cart td.actions .coupon .input-text,
.woocommerce-page #content .quantity input.qty,
.woocommerce-page .quantity input.qty {
	color: #fff !important;
	background: #222 !important;
	height: 46px; /* you may need to change this based on your font size */
}
Please Notes:
- Font sizes greatly affect how fields and other elements look, so keep that in mind if you see that yours doesn’t look exactly like mine.
- This code is only using WooCommerce classes so it can be used on non-WooVina themes, but might need adjustments.

